
GearAndRig is reader-supported. As an Amazon Associate I earn from qualifying purchases. When you buy through links on our site, we may earn an affiliate commission, at no extra cost to you. Learn more.
RV leveling ramps raise the low side of a trailer or motorhome so it sits closer to level on an uneven campsite. For most towable RVs, choose a curved drive-on ramp when you want fine height adjustment, or a stepped ramp when fixed stopping heights suit your setup. Before buying, check the tire’s fit, required rise, tandem-axle spacing, surface grip, and the ramp’s stated load limits.
What a leveling ramp actually solves
Imagine the door-side tires are lower than the opposite side on a sloping campsite. A wheel ramp raises those tires while they remain on the ground, letting you level the trailer side to side before unhitching. It cannot correct every slope and is not a substitute for a powered hydraulic leveling system.
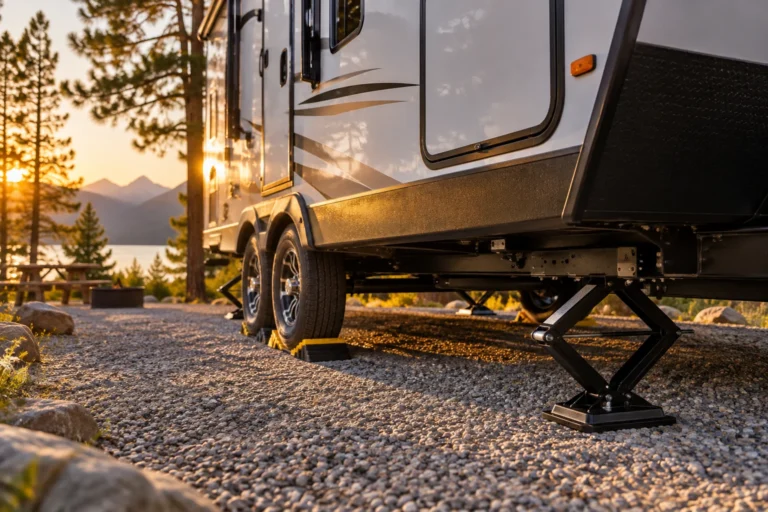
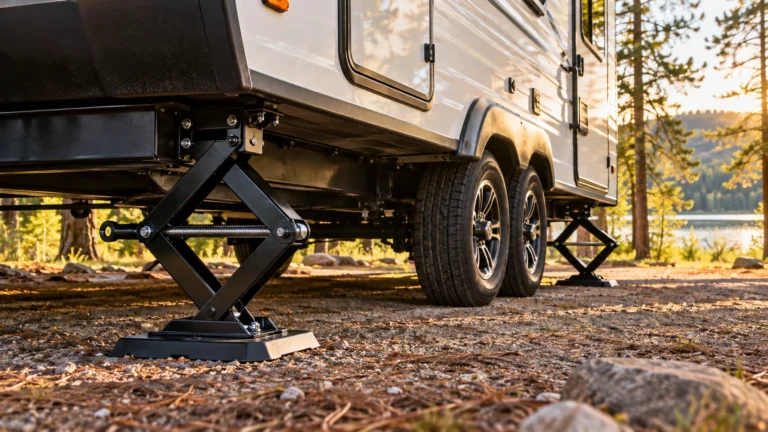
The key distinction is between leveling and stabilizing. Ramps change wheel height. The tongue jack or landing gear adjusts a typical towable RV front to back after the trailer is secured and disconnected, while stabilizer jacks limit rocking after leveling. They are not there to lift the trailer or compensate for a badly sloped parking pad.
Curved, stepped, or stackable: which ramp shape makes sense?
| Type | What you gain | What may rule it out |
|---|---|---|
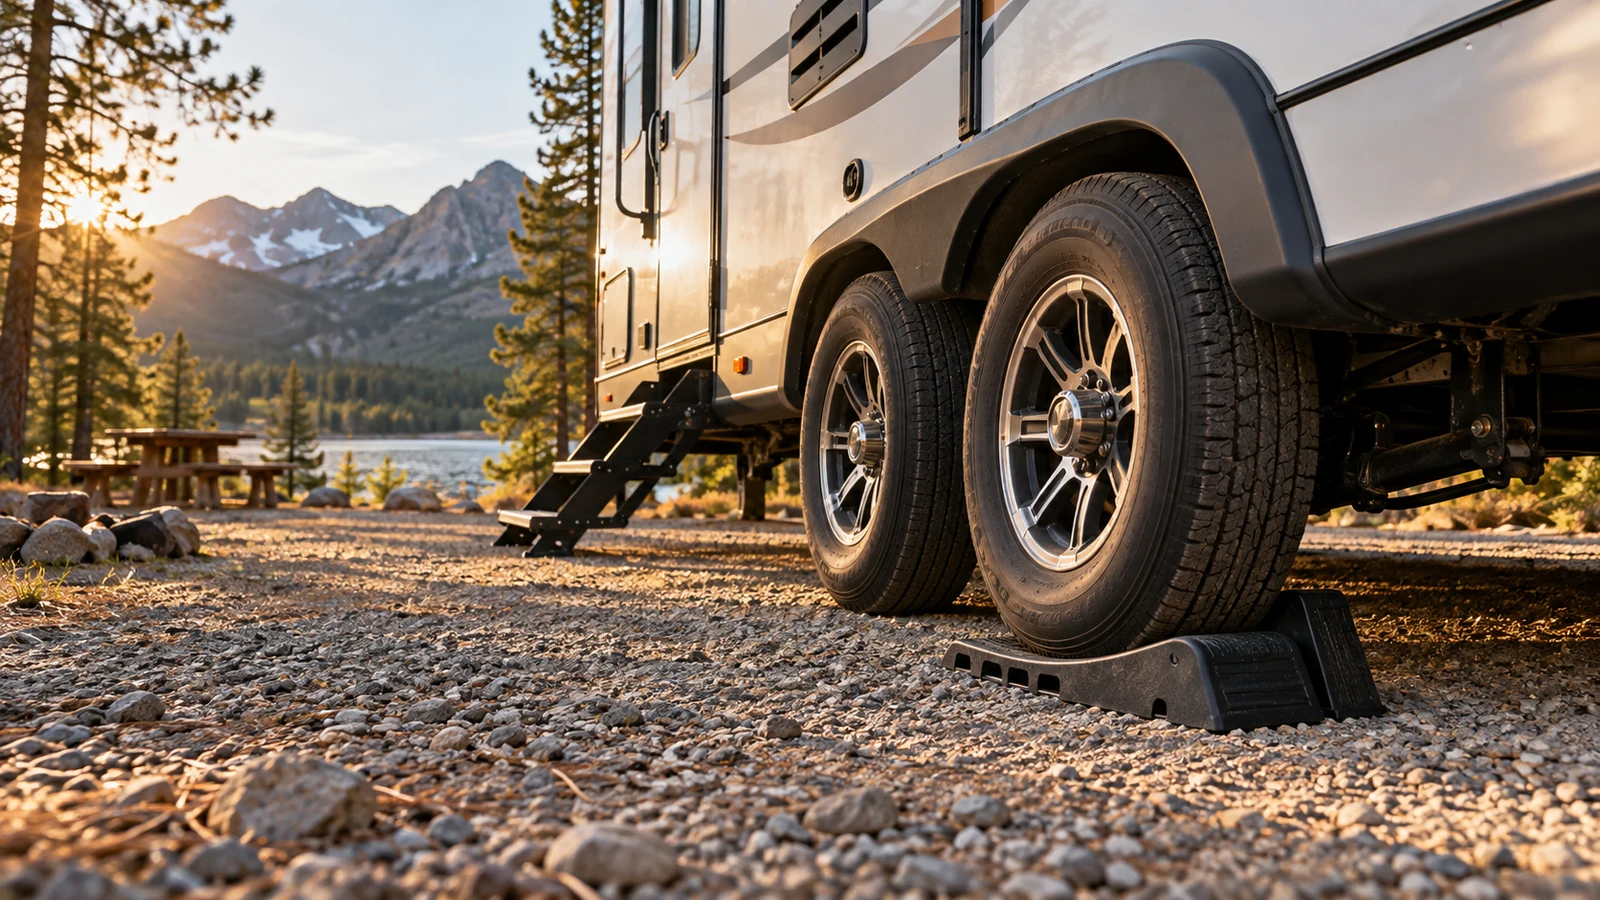
| Curved drive-on ramp with matching chock | Fine side-to-side adjustment as the tire advances along the curve | Needs sufficient tire clearance and a secure position for the matching chock; can shift on slippery ground |
| Fixed stepped ramp | Several clearly defined wheel-height positions on one piece | Adjustment is limited to the designed steps; ramp shape and length must fit the tire and approach |
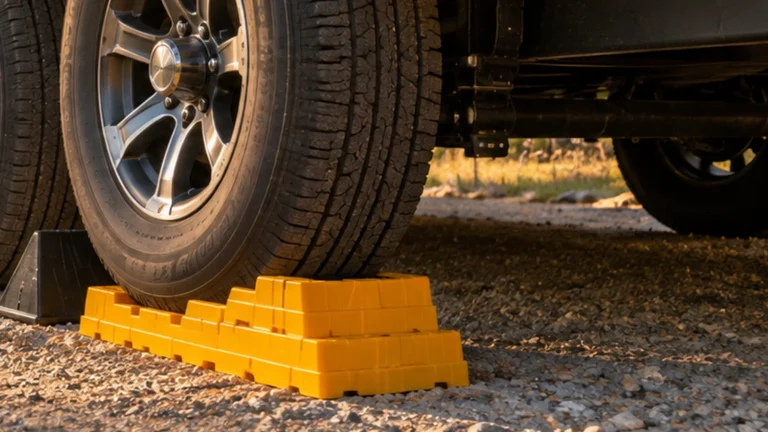
| Interlocking leveling blocks | Configurable height and footprint; also useful as dedicated jack supports where permitted | More pieces to arrange and store; fixed increments rather than the smooth adjustment of a curved ramp |
If your main complaint is stopping half an inch above or below level with blocks, a curved ramp answers that problem directly. If you routinely need to build a wide, long approach for closely spaced wheels, blocks or a longer approved platform may be easier to fit. A ramp is not automatically the better tool.
Do not mix up wheel-leveling ramps with tire-changing ramps. Andersen explicitly states that its Rapid Jack is designed for a different, more aggressive lifting task and is not intended to be used as its Camper Leveler. An item that happens to look like a wedge is not proof it was engineered for ordinary campsite leveling.
Five checks to make before ordering
1. How much side-to-side rise do you need?
Measure how far out of level the trailer is on a representative campsite using a level placed where your RV manufacturer recommends. Use that to estimate the rise needed on the low side, then compare it with the ramp’s documented usable range. Andersen specifies approximately 1/2 to 4 inches of adjustment for its Camper Leveler 3604; that number belongs to that product, not to every ramp.
Skip a ramp that cannot provide enough rise without taking the tire beyond its approved stopping position. When an extreme slope exceeds the product’s operating range, find a better parking position rather than improvising additional height under the ramp.
2. Will the full tire fit the ramp?
Check your actual tire size and tread width against the specific maker’s guidance. Andersen says its Camper Leveler works with tires up to 32 inches in diameter and identifies a six-inch-wide leveler. Tire diameter and width are different measurements, and neither should be guessed from the travel trailer’s overall size. The tire should sit in the support area intended by the ramp maker; if its tread extends unsupported past an edge, reject that fit unless the maker specifically permits it.
On a motorhome with very wide or dual rear wheels, check that the chosen ramp is expressly suitable for that wheel configuration and axle loading. Do not assume a travel-trailer product automatically applies to every Class A or Class C motorhome.
3. Can it physically fit between tandem tires?
For dual-axle trailers, measure the narrowest clear gap between the rear of one tire and the front of the next. Also note the tire diameters and the wheel-center distance. A curved leveler that fits a single axle can conflict with a neighboring tire before it reaches its intended position.
Andersen’s own product FAQ says owners of closely spaced multi-axle trailers may trim its Camper Leveler according to Andersen’s specified trimming guidance. That permission is model-specific. It is not permission to cut an arbitrary ramp, remove so much material that it cannot support a tire, or ignore a manufacturer that prohibits modification.
Plan for the tires on the low side as a system. On most tandem-axle travel trailers, the sensible starting point is to support both low-side tires at comparable heights with products approved for that configuration, rather than raising one tire far above its neighbor. Follow your RV and suspension manufacturers’ specific instructions: axle load sharing and travel vary by design.
4. What is the actual weight rating?
Use the maker’s stated load rating together with your RV’s measured or specified loaded weights, tire arrangement, and any axle or per-ramp restrictions. A headline such as “30,000-pound RV capacity” is not proof that a single plastic piece safely carries that entire weight in any installation.
Andersen markets the 3604 for RVs up to 30,000 pounds. Beech Lane describes a 35,000-pound camper rating for its standard curved levelers. Those are manufacturer marketing specifications, not independent load tests conducted for this guide. If the documentation does not clearly explain whether the rating applies to your precise tire/axle arrangement, seek the manufacturer’s confirmation before use.
5. Will it grip your usual campsite surface?
A smooth concrete pad, packed gravel, wet grass, and loose soil create different traction and support conditions. Even a correctly rated ramp can slip or sink if the ground beneath it is unsuitable. Look for included compatible rubber grip mats or other manufacturer-approved traction aids, and check the ground for holes, loose rocks, and soft spots.
Neither grip mats nor an oversized load rating correct unstable ground. If the surface gives way or the ramp slides as a wheel approaches, stop, move the rig to a firmer position, and reassess.
Two real ramp kits worth using as fit references
These are not lab-tested winners or a substitute for your trailer’s manual. The Amazon pages checked were available as indexed US snapshots, so check the live seller and pack contents when you open each listing. They illustrate two useful kit decisions. Confirm the exact listing variation before ordering because similarly named levelers may ship with different numbers of ramps, chocks, mats, or bags.
Andersen Hitches Camper Leveler 3604, two-pack with mats and duffel bag
Consider this if you want two curved levelers, matching chocks, traction mats, and an included bag in one listed kit.
Andersen’s curved design lets you stop at intermediate heights instead of choosing an entire block increment. Its published FAQ addresses the close-tandem-wheel question and allows specified trimming for its own leveler. That guidance is useful, but careful measurement is still required. The included Tuff Chocks work with the corresponding levelers; follow the complete parking and wheel-chocking requirements for your RV.
Skip if: the tire exceeds the stated size limits, your tandem-wheel clearance cannot be accommodated within Andersen’s approved fit guidance, or the ground cannot give the ramp a stable base. This is not a tire-changing jack.
Beech Lane Camper Leveler, standard curved two-pack
A comparable continuous-adjustment kit whose Amazon listing explicitly includes two curved levelers, two chocks, and two rubber grip mats.
Beech Lane says its standard curved two-pack may require trimming a leveler when tandem tires are closely spaced. That is a different product from the brand’s shorter 12-inch stackable design, and their fitting instructions must not be interchanged. Here the practical advantage is a ready pair with dedicated grip mats, not a proven increase in stability on every surface.
Skip if: you cannot verify tandem-wheel clearance or the required permitted modification, or you need a no-cut short-ramp design. The published rating also needs confirmation against your actual loaded configuration.
How to choose between them: If the Andersen fit instructions work for your wheels and you want a duffel bag included, its specific two-pack variant makes sense. If you want the Beech Lane standard two-pack and its rubber mats, check the clearance and modification instructions first. Choose neither if your narrow tandem-wheel gap, tire geometry, ground surface, or allowable load cannot be confirmed. In that case, use a manufacturer-approved block or ramp configuration instead.
A safer campsite setup sequence
- Park, inspect, and measure. Choose the firmest reasonably level position. Check the side-to-side level, tire clearance, and accessible approach before placing anything under a wheel.
- Keep the trailer connected while leveling side to side. With everyone clear of the path, position the approved ramps squarely in the intended tire tracks. Have a spotter where the driver can see them, never behind or in front of moving wheels.
- Move only as directed by the ramp manufacturer. Slowly roll the relevant tires up their ramps, stop at the appropriate height, and recheck level. If a ramp shifts, a tire approaches an edge, or anything binds, stop and reset.
- Secure the rig before unhitching. Apply the tow vehicle parking brake, use the matching ramp chocks as required, and install the RV’s other required wheel chocks. Never rely on the ramp alone to keep the trailer from rolling.
- Finish front-to-back leveling and stabilization. After the trailer is secured and unhitched in accordance with its manual, use the tongue jack or landing gear for front-to-back adjustment. Then lower stabilizers only as intended to reduce rocking. Retract them and remove every chock and ramp before departure.
These are selection and safety principles, not a replacement for the setup order in your RV’s owner’s manual. A travel trailer with ordinary stabilizer jacks and a motorhome with a manufacturer-controlled leveling system may require different procedures.
When ramps are the wrong fix
- Ramp slides when the tire meets it: stop. Check for unsuitable surface, poor placement, or a missing approved grip accessory rather than accelerating onto the ramp.
- One tandem tire climbs much higher: recheck whether the configuration supports both low-side tires as directed by the RV and suspension makers. A “fits dual axle” claim is not enough without a real clearance check.
- The site needs more rise than the maker allows: reposition the RV or choose an appropriately rated approved solution. Do not stack one curved ramp on another unless the manufacturer expressly allows that configuration.
- The RV still rocks once level: that is usually a separate stabilization problem. Adding tire height may not address movement from the frame or stabilizer setup.
The best purchase decision is sometimes no ramp at all. If you regularly park on firm, nearly level pads and already have compatible blocks, you may not gain much from another leveling product.
How this guide was researched
Product configurations and published claims were checked against Andersen Hitches and Beech Lane product documentation and their Amazon US listings. Setup distinctions were cross-checked against published Grand Design RV guidance. The recommendations are based on documented features and fit limitations, not on field testing or unverified owner experience. Stock and listing variants may change.
Frequently Asked Questions
Can I cut a curved RV leveling ramp to fit between tandem tires?
Only when the exact manufacturer explicitly permits it and you follow that model’s official trimming limits. Andersen provides guidance for its Camper Leveler, and Beech Lane discusses trimming its standard curved design. That does not make every curved or stepped ramp safe to shorten.
Are separate wheel chocks still needed with curved camper levelers?
No. A matching wedge-shaped chock helps secure the leveling ramp in the way its maker specifies, but it does not automatically satisfy all of your trailer’s wheel-chocking requirements. Secure the remaining wheels according to the RV owner’s manual before disconnecting the tow vehicle.
What if my campsite needs more than four inches of correction?
Do not exceed the height range listed for your specific leveling ramp or improvise by stacking incompatible wedges. Reposition on firmer, flatter ground, or use an approved leveling method with adequate height, tire support, load capacity, and instructions for your RV.
Are drive-on ramps suitable for a dual-rear-wheel motorhome?
Not automatically. Confirm the tire width, wheel arrangement, axle load, and the ramp manufacturer’s explicit compatibility instructions. A travel-trailer curved leveler advertised for tires up to a particular diameter is not proof it safely supports a motorhome’s dual rear wheels.