
GearAndRig is reader-supported. As an Amazon Associate I earn from qualifying purchases. When you buy through links on our site, we may earn an affiliate commission, at no extra cost to you. Learn more.
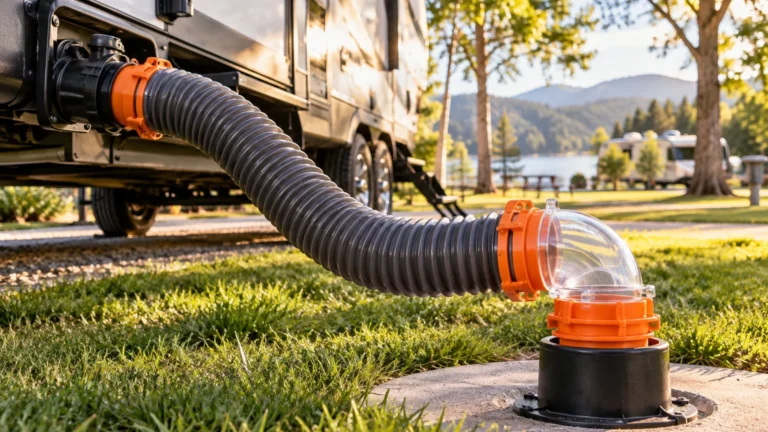
To connect an RV sewer hose, close the black and gray tank valves, lock the hose’s bayonet fitting onto the RV waste outlet, and secure the other end in the campground sewer inlet with a matching elbow and seal. Support the hose so it drains downhill, then check both connections before opening either valve. If a fitting does not seat securely, do not dump.
Before You Start: Find the Right Outlet and Fittings
Look underneath your trailer or in its utility compartment for the capped wastewater termination outlet. On many RVs, the black and gray tanks feed a shared outlet, but some rigs have separate discharge points. The correct location is shown in your RV owner’s manual. Do not confuse the waste outlet with the freshwater fill, city-water connection, or black-tank flush inlet.
Most conventional gravity-drain RV setups use a roughly 3-inch outlet with small locking lugs. A compatible sewer hose has a bayonet fitting whose hooks twist behind those lugs. This guide is for that arrangement. A macerator pump, permanently plumbed system, or proprietary cam-lock outlet may connect differently; follow that system’s manual rather than forcing a standard fitting.
Have these ready
- A wastewater-only RV sewer hose long enough to reach the inlet without stretching.
- A compatible RV-end fitting with an intact rubber gasket.
- A sewer elbow and a campground-inlet adapter or approved rubber seal.
- Disposable gloves and a dedicated non-potable rinse hose where rinsing is permitted.
- A hose support for longer or uneven runs, especially where campground rules require one.
Do the reach check before removing either cap. Walk the actual route from the RV outlet to the drain. Allow for bends around tires or landing gear and enough slack that neither connector carries the hose’s weight. A hose that technically reaches only when pulled tight is too short for a reliable setup.
How to Connect an RV Sewer Hose in 7 Steps
- Park and identify the inlet. Level and secure the RV, locate the approved campground sewer opening, and plan a route that will not be stepped on or crushed. Remove the campground inlet cap only when you’re ready to connect.
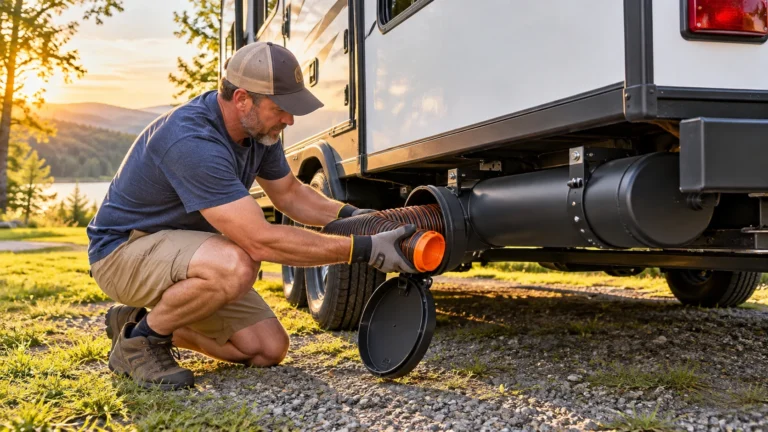
- Close both tank valves. Confirm the black and gray pull handles are fully in their closed positions. Put on gloves. Carefully remove the RV’s outlet cap; residual liquid may be trapped behind it even with both valves closed.
- Inspect the RV-end gasket. Look inside the hose’s bayonet fitting. Its seal should be present, seated correctly, and free of grit, cracks, or obvious damage. Replace damaged components rather than trying to compensate by overtightening.
- Lock the hose onto the RV. Align the bayonet hooks with the outlet lugs, push the fitting on squarely, and rotate it into its locked position according to the fitting manufacturer’s directions. Give the connection a controlled, gentle pull to verify the hooks have actually engaged. Do not use excessive force or tools on a plastic fitting.
- Connect the campground end. Attach the matching elbow. If the inlet and adapter have compatible threads, thread the adapter in snugly by hand. If the opening is smooth, use the correct slip-style adapter or sewer donut to create a stable seal. Different campground inlets require different ends; a loose elbow resting in an open pipe is not a dependable connection. If the riser does not accept your fittings, ask campground staff which adapter is permitted before draining.
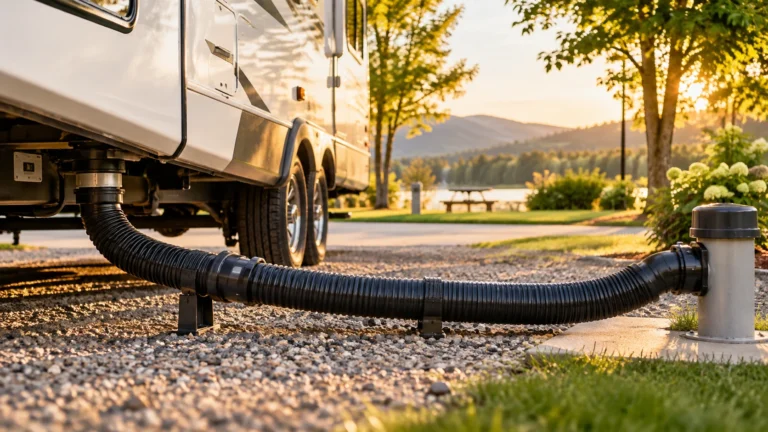
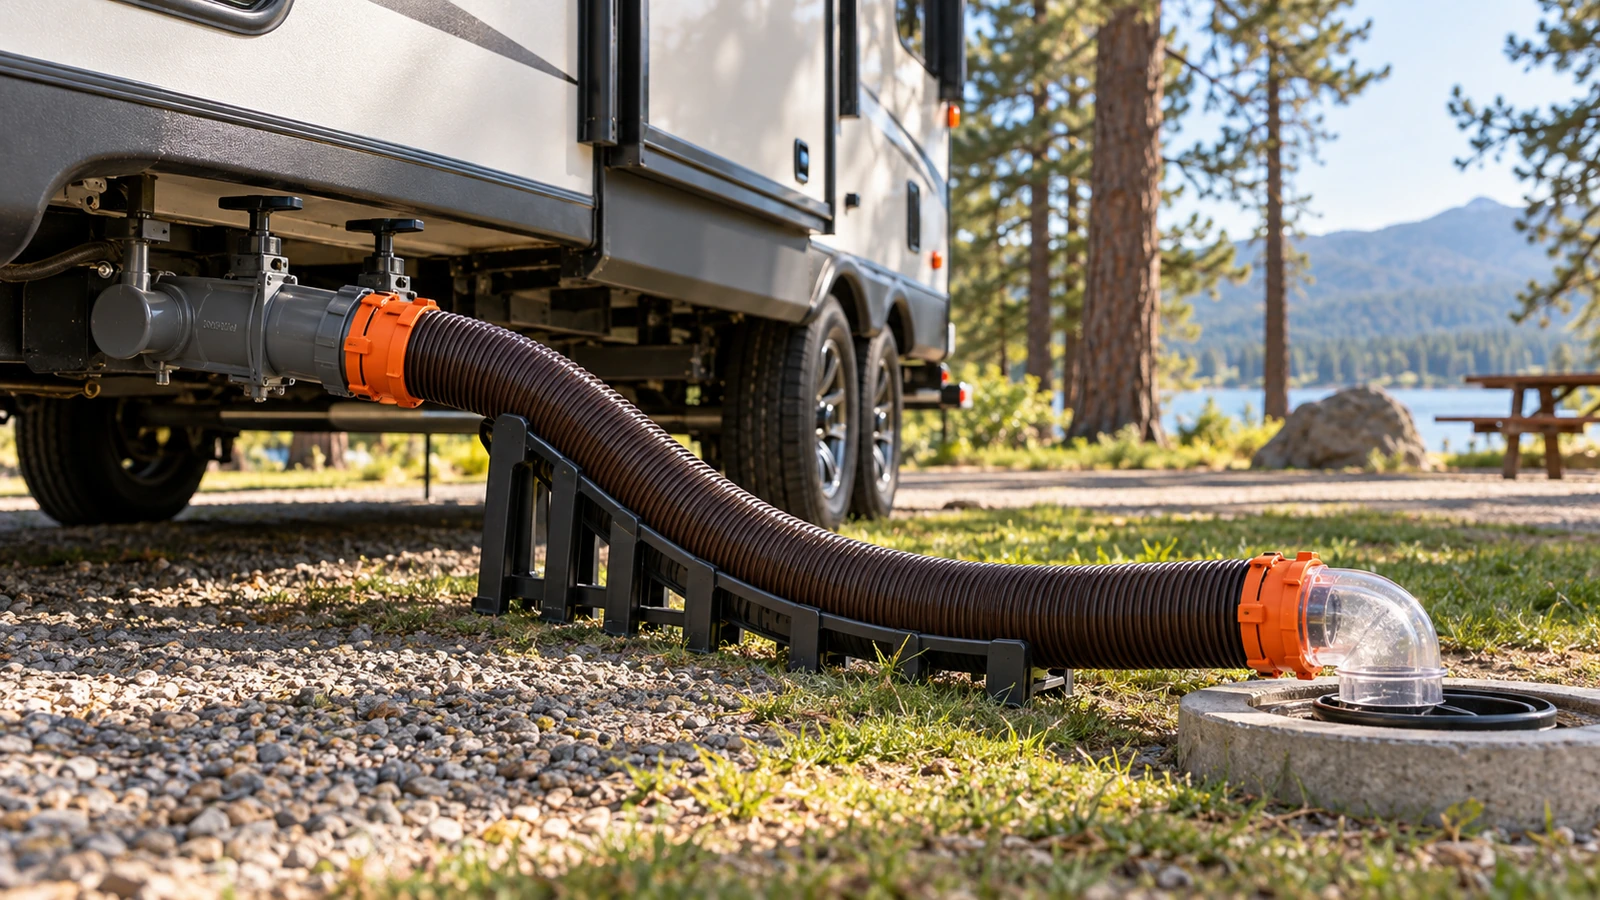
- Support and check the run. Arrange the hose from the RV outlet toward the sewer inlet with a continuous downhill path wherever site geometry allows. Remove sagging low spots and sharp kinks. Make sure the hose is not hanging from the RV fitting or pulling upward on the elbow.
- Double-check before draining. Look at both ends, confirm the campground fitting cannot lift out easily, and check that the hose has enough slack. Only then operate the appropriate waste valve when you are ready to dump, staying nearby to watch for leaks or movement.
The important distinction: a hose can look connected while the bayonet hooks are sitting against the lugs rather than locked behind them. The gentle pull check before opening a valve is more useful than trusting the way the fitting looks from a few feet away.
Which End Goes Into the Campground Sewer Inlet?
The bayonet end usually attaches to the RV’s waste outlet; the elbow or sewer adapter belongs at the campground drain. The pipe opening at the campsite determines the final adapter, not the color of your sewer hose.
| What you see | Connection to use | Check before draining |
|---|---|---|
| Threaded sewer riser | Correctly sized threaded sewer adapter on the elbow | Threads engage cleanly and the elbow stays seated without strain |
| Smooth, unthreaded riser | Compatible slip fitting or rubber sewer donut | The seal grips the pipe and the hose cannot pull the elbow free |
| Unusual, damaged, or recessed inlet | Park-approved matching fitting or assistance from campground staff | No improvised loose connection or damaged threads |
A multi-size adapter can simplify campground hookups, but it is not universal. Check the manufacturer’s stated pipe sizes and thread types. For example, the Camco RhinoFLEX 20-foot kit, model 39742, is sold with a clear elbow and a removable 4-in-1 adapter intended for several common inlet styles. That does not guarantee it fits a damaged, nonstandard, or oddly positioned riser.
Connecting an extension or quick-connect section
If one hose section is too short, use a compatible sewer hose extension with matching ends. A common arrangement has a bayonet fitting on one section and the lugged mating end on the other: align, twist fully into the lock, inspect the gasket, and gently tug the joint. Some specialty systems use different proprietary connectors. Do not force two ends together or assume a garden-hose-style quick connect is suitable for wastewater.
If you’re starting from an incomplete hose rather than replacing a single worn fitting, a matched kit reduces the number of separate connections you need to identify. Check the Camco RhinoFLEX 39742 sewer hose kit on Amazon. Skip it if your RV uses a proprietary waste connection, or if its included adapter does not match the actual campsite inlet.
How to Keep the Hose From Sagging or Pulling Loose
Water must travel from the RV outlet toward the sewer inlet by gravity. A hose lying in a deep dip can hold wastewater after the tank stops draining. A tightly stretched hose creates a different problem: even a small shift can pull on a connector.
Use a support cradle to keep the longer run off the ground and to reduce dips. Start higher at the RV end and lower the support toward the sewer inlet. If the ground is uneven, adjust the path instead of forcing the hose into a sharp bend. At a short dump station connection, a separate support may be unnecessary if the hose is already securely positioned and draining freely; follow site rules.
Stop if the campground inlet is higher than your RV’s outlet. A gravity hose does not overcome an uphill discharge simply because you add more hose or lift the middle. Check the RV and discharge-system manuals for a compatible pumped solution or ask campground staff for another approved dumping arrangement.
After Connecting: When Should You Open the Tank Valves?
Connecting the hose and emptying the tanks are separate jobs. At a full-hookup site, the hose can remain attached while you camp, but the black-tank valve generally stays closed between dumps so liquid does not drain away while solids remain. Follow your RV maker’s tank-management instructions rather than treating the sewer hookup like a continuously open household drain.
When it is time to empty conventional holding tanks, the usual sequence is black first, then gray: open the black valve, allow that tank to drain, close it, and then empty the gray tank. The gray water helps rinse residue from the sewer hose. This order is described in Jayco’s RV dumping guidance and the 2026 Class C owner’s manual. Use your own RV manual if its system operates differently.
Stay with the hose when you first open a valve. If you see leakage, unexpected movement, or wastewater backing up, stop the discharge and address the connection or station condition before continuing. Never use a drinking-water hose or potable-water tap to rinse sewer equipment. Follow the RV’s separate black-tank-flush instructions where equipped.
If the Sewer Hose Won’t Connect, Diagnose the End That Fails
Before replacing the entire hose, determine whether the mismatch is at the RV outlet, between two hose sections, or at the campground drain. Those are three different problems.
| Problem | Likely check | Next safe move |
|---|---|---|
| Bayonet fitting will not twist onto RV | Wrong coupling style, misaligned lugs, grit, or damaged hooks | Keep valves closed; clean and inspect, then use the actual outlet’s specified fitting |
| Fitting twists on but drips | Missing, displaced, dirty, or worn gasket | Stop, drain safely, and replace the seal or defective end; do not depend on tape around a bayonet lock |
| Elbow lifts out of campground pipe | Wrong threaded/slip adapter, missing donut, or hose pulling upward | Choose the correct sealed inlet fitting and relieve hose tension before opening a valve |
| Hose holds liquid in the middle | Sagging run, low spots, kink, or unfavorable outlet height | Reposition/support a downhill route; do not force drainage by squeezing a full hose |
| RV outlet cap releases liquid before hookup | Waste remaining behind the cap, or a tank valve that has not sealed | Keep clear, contain the spill as permitted, and investigate the valve if leakage persists |
If your hose is a bare length of corrugated tubing without installed end fittings, do not assume every bayonet kit attaches the same way. Match the hose diameter and wall construction to the fitting’s documented installation method. Some systems use clamps; others use factory-mounted or proprietary ends.
How to Disconnect Without Spilling What’s Left in the Hose
Once both tanks are empty, close the tank valves completely. Allow the hose to drain toward the campground inlet. With gloves on and the downstream end still secured, carefully remove the hose at the RV outlet, keeping the open end elevated so any remaining liquid travels toward the drain. Then finish draining and rinse the waste equipment with a dedicated non-potable hose if the dump station permits it.
Only after the hose is drained should you remove the campground-end elbow. Replace the caps, wipe or clean fittings as instructed by their manufacturer, and store wastewater gear separately from drinking-water hoses. Sanitize your hands after removing gloves. If the station has posted rules, those take priority over a generic departure routine.
Frequently Asked Questions
Do RV sewer hoses fit every campground sewer connection?
No. The RV-end bayonet may be standard, while campground sewer risers can be threaded, smooth, recessed, or damaged. Match the adapter to the actual inlet and confirm a stable seal before opening a tank valve. A multi-size adapter helps with common fittings but is not truly universal.
Can you connect an RV sewer hose directly to PVC pipe?
Only if that pipe is an approved wastewater receiving connection and you have a compatible, secure adapter intended for its size and fitting type. Do not glue a flexible bayonet hose directly to PVC or discharge into an unapproved drain. Permanent home connections may require permits and local code compliance.
Should the RV black-tank valve stay open when the sewer hose is attached?
Normally no. With a conventional gravity holding-tank system, keep the black-tank valve closed between dumping sessions so sufficient water remains to carry solids out when the tank is emptied. Follow your RV owner’s manual for the proper dumping routine and any system-specific exceptions.
What if the hose reaches the sewer inlet only when fully stretched?
Do not pull it tight and rely on the fittings to absorb the tension. Measure the actual routed distance and use a compatible extension or longer hose, supporting any additional joints. A little slack protects the connections when the hose moves or fills; each added joint still needs its own seal check.