
GearAndRig is reader-supported. As an Amazon Associate I earn from qualifying purchases. When you buy through links on our site, we may earn an affiliate commission, at no extra cost to you. Learn more.
To use RV leveling blocks, park with your trailer still hitched, check which side is low, and build a stable, interlocking ramp in the path of that side’s tires. Drive onto the blocks slowly, stop with each tire fully supported, and recheck the level. Chock the trailer before unhitching; then adjust front-to-back level with the tongue jack or landing gear, not the stabilizers.
The campsite sequence at a glance
- Find the low side. Measure across the trailer while it is still connected to the tow vehicle.
- Build a drive-on approach. Use interlocked blocks on firm ground, sized and stacked according to the product instructions.
- Move onto the stack. Clear the area, drive at a crawl, and make sure every tire being raised is completely supported.
- Secure, then unhitch. Chock against movement in both directions with suitable wheel chocks before operating the coupler.
- Level the trailer’s length. Use the tongue jack or front landing gear, then extend stabilizers only as specified by your RV manufacturer.
What you need before moving the trailer
A bubble level or a calibrated RV leveling indicator tells you which side is low. You’ll also need a set of tire-rated leveling blocks, suitable wheel chocks, and a clear space to move the tow vehicle a short distance. A spotter can help, but that person should stand outside the vehicle’s travel path and use an agreed stop signal.
First check the site: look for holes, loose rocks, saturated soil, and room for a tire to climb the blocks without striking a curb or another object. Move the rig to a better position if possible. A block stack cannot turn a severely sloped or unstable site into a safe parking spot.
Confirm the block system is approved for your tire arrangement and load, including dual rear wheels or tandem axles where applicable. Follow the specific block maker’s stacking limit. The height of a loose pile of plastic blocks is not a valid safety rating.
How to use RV leveling blocks, step by step
1. Measure side-to-side before unhitching
Park where you expect to stay, set the tow vehicle brake, and use an RV bubble level or calibrated device to check the trailer from left to right. Read the level according to its own markings. The low side, not the high side, is the side that needs raising.
If the left side needs lift, the blocks go in the path of the left-side tires. If the right side is low, reverse that plan. Leave the trailer connected so the tow vehicle can move it onto the supports. Don’t lower the tongue jack first and then try to correct the cross-slope.
2. Build the stack where the tires will roll
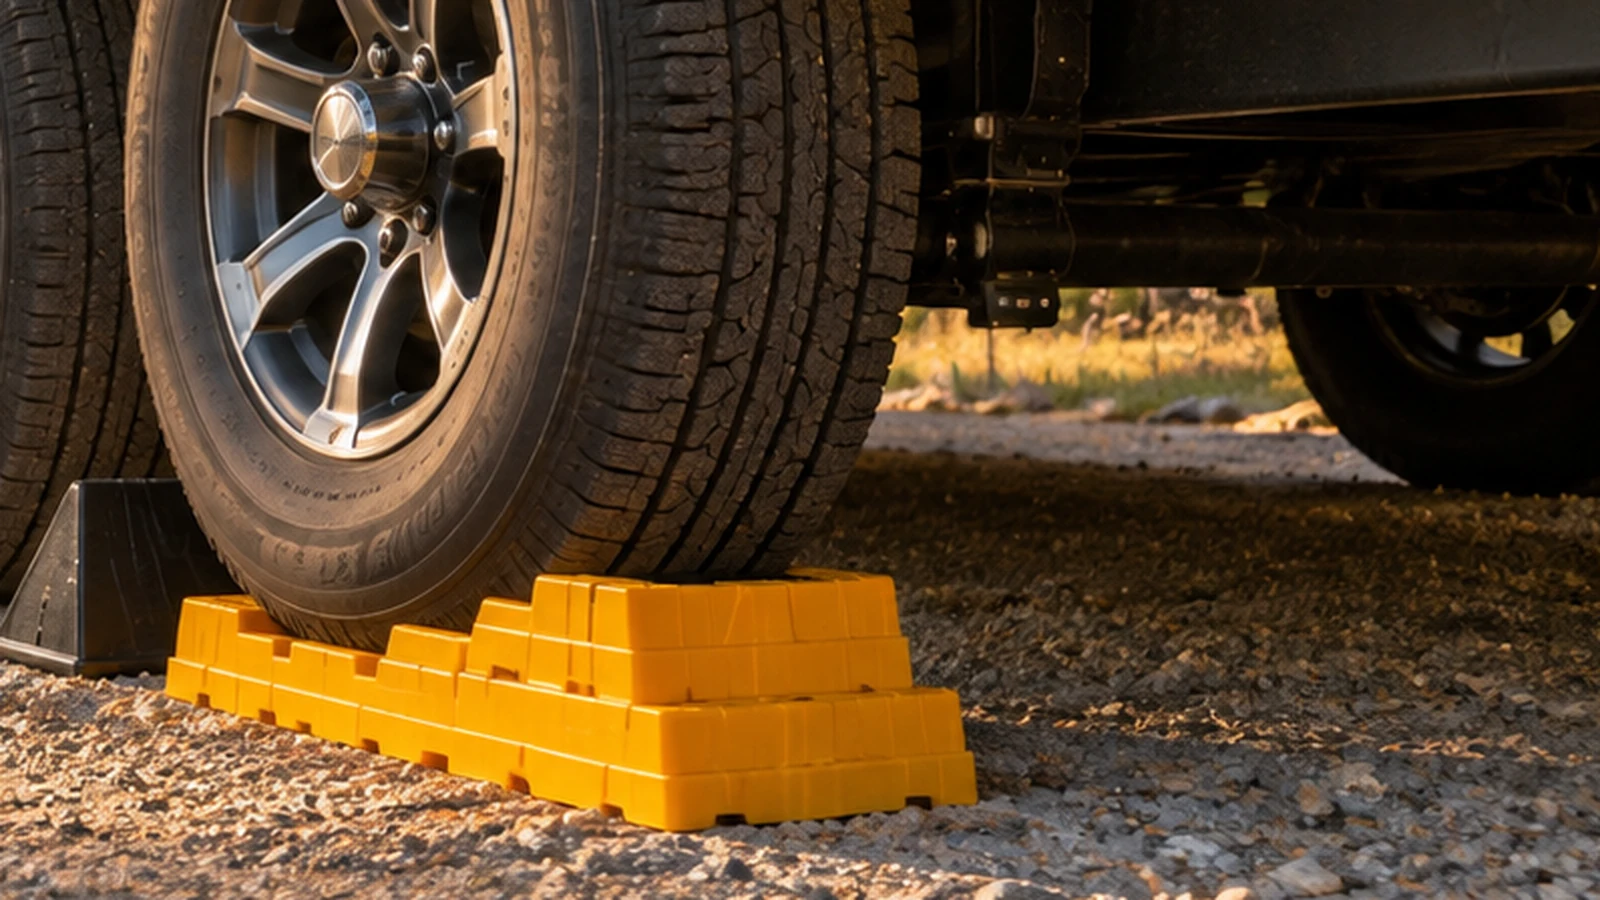
Switch off the tow vehicle and keep the brake set whenever anyone is placing blocks. Remove sharp stones from the contact area. Join the blocks firmly into a low, stepped approach, rather than balancing a narrow vertical column under a tire. Follow the manufacturer-approved pattern; some kits include a cap or matching chock designed for the top of a stack.
Place the approach just ahead of or behind the tire, depending on which direction you can safely move. Keep the top wide and flat enough for the tire’s contact patch. Do not combine unrelated brands, wood scraps, loose rocks, or makeshift shims with a system whose manufacturer does not approve mixing materials.
3. Roll on slowly and check the support
Clear people and pets from the moving path. With everyone in a safe location, drive forward or reverse at a crawl. Stop, secure the tow vehicle, and check whether the tires are centered and fully supported on their assigned stacks. Nobody should reach under a tire or adjust a block while the vehicle is moving. Never crawl under an RV supported by leveling blocks.
Check the bubble level again. If the trailer is still low, drive completely off the blocks, stop and secure the vehicle, change the setup, and retry. If it is too high, do the same to remove height. Don’t pull a block from under a loaded tire. If the stack slides, cracks, sinks, or tips, stop using that arrangement and reassess the surface and product suitability.
4. Chock the trailer before disconnecting
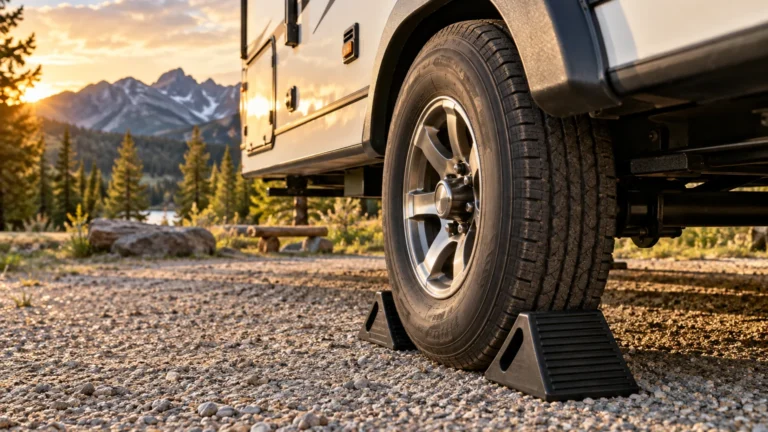
Once the cross-slope is corrected, immobilize the trailer with wheel chocks appropriate to its tires, the ground, and the slope. Restrain forward and backward movement, including tires on the raised side as the setup allows. The tow vehicle’s parking brake alone is not a substitute for chocking an unhitched trailer.
Do not treat a between-the-tires stabilizer or X-chock as the only device preventing a trailer from rolling. If the leveled tire is sitting on a block stack, use the block maker’s compatible chock system or an approved independent tire chock that seats securely. If you cannot obtain a secure chock placement, reposition the trailer rather than unhitching.
5. Correct front-to-back level, then stabilize
Only after chocking and following your RV’s unhitching procedure should you raise or lower a travel trailer’s tongue jack to correct its front-to-back tilt. A fifth wheel uses its landing gear according to its manual. Keep the jack foot on an appropriate stable support if the surface requires one, and confirm the trailer remains securely restrained.
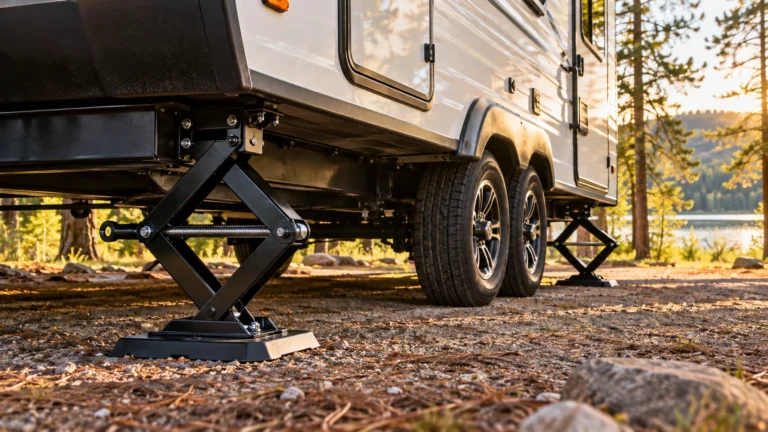
Recheck both axes. Lower stabilizer jacks after the trailer is level, following their operating instructions. Ordinary stabilizers are intended to reduce rocking, not to lift the trailer or force a low corner into level. For a motorhome or an RV with factory hydraulic/automatic leveling, use the vehicle’s own leveling procedure; this travel-trailer sequence is not a replacement for it.
For tandem-axle travel trailers, plan two stacks on the low side
On a typical two-axle trailer, both tires on the low side need properly supported leveling positions. The Tri-Lynx 00015 user instructions describe building two separate pyramids for a tandem-axle RV. One giant stack under a single tire is not an acceptable shortcut: it can leave the neighboring tire unsupported at the intended height and change axle loading.
Before you begin, count the blocks required for both approaches. For example, a simple two-layer stepped configuration that uses two blocks on the bottom and one on top consumes three blocks per tire, six for the pair. A deeper approach needs more. These counts explain why a single kit may run short; they are not an instruction to exceed your particular manufacturer’s allowed design or height.
Measure the actual spacing between your tandem tires and check the product’s fit instructions. If there is insufficient clearance to place the approved approach, don’t improvise a steep pile. Consider a model specifically documented for close-set axles, or choose a more level position. Curved drive-on ramps have their own placement, clearance, and chock rules; they are not interchangeable with square interlocking blocks.
Which blocks work for this method?
This walkthrough assumes interlocking, stepped RV tire-leveling blocks. A useful documented example is the Tri-Lynx Lynx Levelers, model 00015. Tri-Lynx specifies a pyramid layout for tire leveling, with different manufacturer limits for tire leveling versus supporting stabilizing equipment. Its current Amazon model listing may have a different package configuration from older instructions, so confirm the included blocks and accessories before ordering.
Relevant gear for this how-to
Tri-Lynx Lynx Levelers 00015
Choose it if: you want interlocking square blocks for a stepped tire-leveling setup, with published guidance for tandem axles.
Watch for: a single kit may not contain enough blocks for two taller tandem-axle approaches. Confirm tire fit, product instructions, and whether compatible chocks or caps are included. Do not assume the published overall load rating makes any stack height acceptable.
If you already own sound, compatible blocks, there is no reason to replace them solely to follow this procedure. If you’re deciding among kits rather than learning the technique, keep the separate product-selection questions distinct from the steps here.
When the blocks are not working
| What you notice | Likely issue to check | Safer next move |
|---|---|---|
| Trailer is still low after the tires are on the blocks | Not enough approved lift, or uneven ground under a stack | Drive off fully, secure the rig, then adjust the block layout within the stated limit. |
| Trailer tilts the other way | Too much lift on the low side | Drive off and rebuild with less height; don’t start raising the opposite side as a reflex. |
| A stack shifts or digs into gravel | Soft, loose, or irregular support surface | Stop and choose firmer ground or a support method expressly allowed by the block maker. |
| Blocks won’t fit between tandem tires | Insufficient clearance for the prescribed approach | Use the maker’s fit instructions or move to a different approved leveling system. |
| Trailer rocks even though the level is centered | Leveling and stabilization are separate jobs | After chocking and leveling, deploy the trailer’s designated stabilizers correctly. |
A common mistake is concentrating on the bubble while overlooking tire support. A perfectly centered level does not make an unstable or cracked block stack safe. Treat the support, chocking, and vehicle-specific procedures as separate checks.
When you’re ready to leave
Bring the tongue jack or landing gear through the manufacturer’s hitching sequence and reconnect the trailer before removing the chocks. Raise the stabilizers fully before moving. Then remove the chocks only when the tow vehicle is connected and the trailer is secured for departure; drive completely off the blocks slowly and retrieve them after all wheels are clear. Inspect for damage, wash off packed mud if necessary, and store only intact blocks.
Frequently Asked Questions
Do both tires on a tandem-axle trailer need leveling blocks?
When lifting the low side of a tandem-axle travel trailer with interlocking blocks, plan a properly supported position for each tire on that side. Tri-Lynx specifically instructs owners to make two pyramids for tandem axles. Follow your trailer and block manufacturers’ instructions rather than parking one axle high on a stack while the neighboring tire remains on bare ground.
How many RV leveling blocks can I safely stack?
There is no universal number that applies to every brand and every support job. Tri-Lynx limits pyramid tire-leveling stacks to five levelers in its FAQ, while its separate stabilization limit is different. Check the exact instructions for your own model and build the specified stepped layout, not a free-standing vertical column.
Should wheel chocks go on before or after I drive onto the blocks?
Have the chocks ready before moving, keep people clear while the tow vehicle rolls onto the blocks, and secure the vehicle whenever you stop to inspect. Once the tires are positioned, place appropriate chocks to restrain trailer movement before unhitching. Never leave the trailer disconnected with its wheels able to roll off the stack.
Can I level my travel trailer with stabilizer jacks instead?
Not with ordinary stabilizer jacks. Correct the side-to-side tilt using approved tire supports first, then adjust the trailer’s tongue jack or landing gear for its lengthwise tilt. Stabilizers come last to limit rocking and must not be used to lift the trailer unless your exact factory system explicitly supports that function.