
GearAndRig is reader-supported. As an Amazon Associate I earn from qualifying purchases. When you buy through links on our site, we may earn an affiliate commission, at no extra cost to you. Learn more.
An adjustable RV water pressure regulator is worth choosing when you want to set a campground hookup to your RV’s permitted pressure and check the result on a gauge. Look for drinking-water-compatible materials, 3/4-inch garden-hose connections, a readable outlet gauge and an adjustment method you will actually use. Check your RV manual before changing the setting; a higher number does not automatically mean a better shower.
Which adjustable regulator makes sense for your RV?
Three distinct designs stand out for different reasons. The RVGUARD knob model prioritizes adjustment without tools. The Renator M11-0660R offers a conventional screwdriver-controlled regulator with an oil-filled gauge and documented US-based support. The Valterra A01-1117VP has an established parts ecosystem, including a listed replacement gauge, and a manufacturer-stated upper-setting caution.
Pull, turn and press down to lock the control. Useful when changing hookups often.
Flathead-screw adjustment and a liquid-filled dial, plus published setup instructions.
Traditional screw adjustment; manufacturer lists separate gauge and service components.
Before buying: if the pressure is already within your RV’s specified limit and a fixed regulator meets your needs, an adjustable model may not improve anything. If campground supply pressure or flow is genuinely low, a regulator cannot increase it.
Compare the features that change your choice
| Exact model | How you adjust it | Gauge and service detail | Reason to skip | Amazon |
|---|---|---|---|---|
| RVGUARD adjustable knob | Lift, rotate, press to lock; no screwdriver | Built-in dial; inlet screen per manufacturer | You prefer a simple, low-profile screw setting that rarely changes | Check model |
| Renator M11-0660R | Flathead adjustment screw | Liquid-filled gauge; manufacturer lists US-based support | You want a tool-free control at every campsite | Check model |
| Valterra A01-1117VP | Flathead adjustment screw | Gauge and screened washer; replacement gauge listed by Valterra | You want a knob or do not need separate service-part documentation | Check model |
Control: lockable, tool-free knob. Distinctive reason: convenient at changing hookups. Trade-off: more exposed control.
Control: screwdriver. Distinctive reason: published instructions and oil-filled gauge. Trade-off: bring a screwdriver.
Control: screwdriver. Distinctive reason: separate gauge and service parts identified by Valterra. Trade-off: availability of any replacement part must be confirmed.
These are documented construction and usability differences, not results from side-by-side flow, durability or gauge-accuracy testing. Comparable independently verified flow-rate figures for these exact variants were not established, so none is labeled a proven high-flow winner.
How the three models differ in actual use
RVGUARD adjustable-knob regulator: easiest control without a tool
The manufacturer’s knob version uses a pull-up adjustment control: lift it, turn clockwise or counterclockwise to change the setting, then push down to lock. RVGUARD also identifies a built-in gauge, inlet screen, lead-free brass construction and standard 3/4-inch garden-hose connections. The Amazon listing specifically identifies the adjustable-knob version, not the separate RVGUARD screwdriver model.
Who benefits: an owner who regularly moves between hookups and wants to make small adjustments without hunting for a screwdriver. The push-down lock is a concrete advantage if an exposed knob might be bumped during setup.
Skip if: the regulator will be left at one setting for months, or space around the spigot favors a compact screw head. A knob is easier to reach, but there is no verified evidence here that it delivers more water or has a more accurate gauge than the other two.
Renator M11-0660R: conventional control with clear instructions
Renator’s M11-0660R uses a top adjustment screw and an oil-filled pressure gauge. Renator identifies a 45 PSI factory preset, 3/4-inch US hose-thread compatibility, and a support channel based in the United States. Its published installation guide explains the hose sequence, initial flushing and why fixture valves should be closed for the final pressure reading.
Who benefits: a camper who wants to establish a suitable setting, see the outlet pressure at a glance and leave the screw alone until the next meaningful change. Renator’s installation and common-questions pages make it easier to distinguish an ordinary gauge bubble from a genuine fault.
Skip if: you intend to readjust the valve frequently without tools. And do not assume the gauge’s printed 0 to 160 PSI scale is permission to set an RV to 160 PSI; it is a gauge range, not a safe RV operating limit.
Valterra A01-1117VP: straightforward design with listed replacement parts
Valterra’s A01-1117VP has a screwdriver adjustment, pressure gauge and inlet screened washer. The manufacturer explicitly cautions against settings above 60 PSI and says to check the RV manual. An RV specialist lists an adjustment envelope of 15 to 65 PSI for this model; that physical adjustment envelope does not override Valterra’s lower recommended operating ceiling or your particular RV’s limit.
Who benefits: someone who values the ability to identify a replacement gauge or other service components by part number. Valterra’s own catalog includes a gauge, cap and seal/diaphragm components for this regulator family, although that does not prove those components are available from Amazon today.
Skip if: you want to turn a knob by hand, or your purchase decision depends on a demonstrated flow advantage. Neither the manufacturer information used here nor the listing establishes an independently measured high-flow comparison against RVGUARD or Renator.
What the regulator’s gauge tells you, and what it doesn’t
For these typical RV outlet-mounted gauges, the dial shows regulated pressure on the downstream side of the valve. It does not show the unregulated pressure available at the campground faucet upstream. This matters when you troubleshoot a weak shower: a healthy-looking dial with everything closed does not prove the campground can supply the flow your shower needs.
- Fixtures closed: the settled gauge reading is the static pressure the connected hose and RV plumbing are holding. Use the model’s official adjustment method to confirm it remains within the RV’s approved limit.
- Fixtures open: the reading may dip as water moves through the regulator, hose, filter and RV plumbing. A drop indicates what happens under demand, but it does not by itself locate the restriction.
One easy mistake is to turn the screw up repeatedly while a faucet is open, hoping to cure low flow. When the faucet closes, static pressure can rise above the level you intended. Renator’s official guide calls for closed RV fixtures during adjustment; Valterra-focused professional guidance likewise uses a closed-fixture final reading. If an adjustment lower does not appear on the gauge, release trapped downstream pressure using the manufacturer’s method, close the fixtures and recheck rather than forcing the adjustment screw.
Some owner discussions give a different sequence for troubleshooting pressure that seems trapped in a hose. Their practical point is valid: a line can retain pressure until water is released. That is not a reason to substitute a flowing-water gauge reading for the final safe static setting. Follow the instructions for your exact regulator and stop if its behavior disagrees with them.
A sensible setup sequence at a campground
- Find the permitted pressure for your specific RV. Check the RV maker’s owner manual and any applicable component instructions. Treat a factory preset such as 45 PSI as a starting condition, not permission to ignore a lower RV-specific limit.
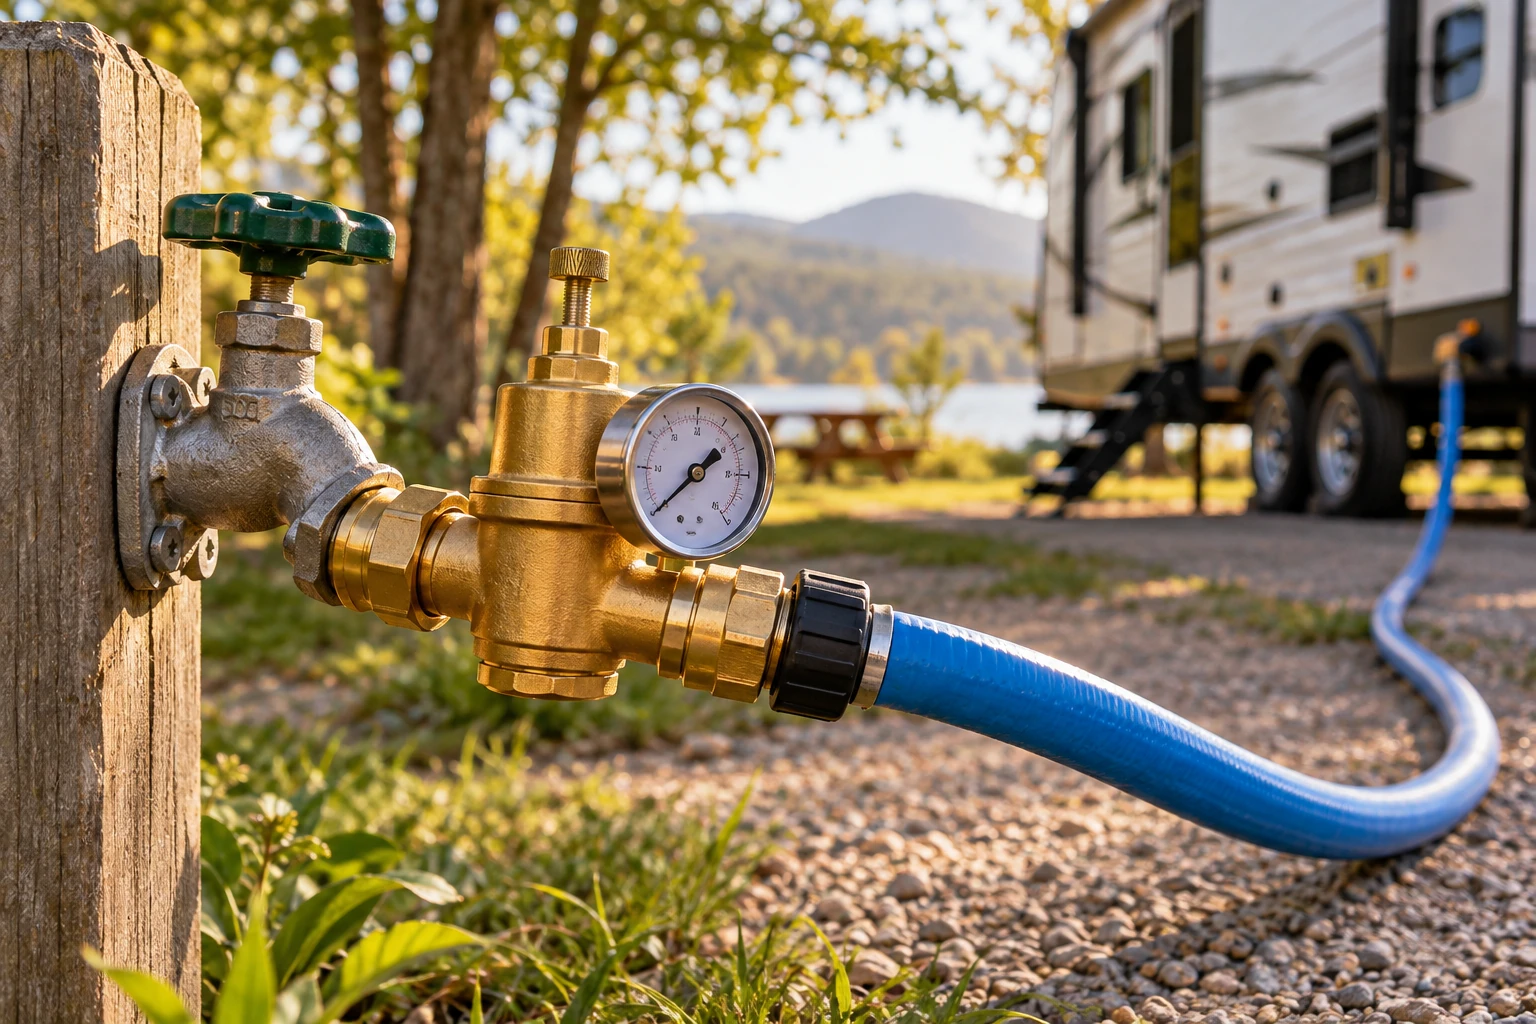
- Inspect and connect on the supply side. With the spigot off, inspect the screened washer, sealing washer, brass threads and gauge. Follow the exact model’s placement instructions. A common arrangement is campground spigot, regulator, drinking-water hose, then RV city-water inlet, so the hose after the regulator is protected too.
- Flush before connecting to the RV. Renator’s installation guide specifies flushing the regulator and hose for one minute before attaching the hose to the RV. For other models, use their instructions rather than assuming the same flush duration is universal.
- Turn on the spigot slowly and purge air. Check for drips at each threaded connection. Open RV fixtures as the manufacturer’s hookup procedure directs to release trapped air; close them before checking the final static outlet reading.
- Make small model-specific changes. Use the knob or flathead screw as directed, staying below the most restrictive relevant RV or regulator limit. If you decrease the setting but the needle does not fall, avoid applying force: trapped pressure may need to be relieved and the static reading checked again.
- Check under normal use without chasing the needle. Turn on a fixture to observe how pressure behaves under demand, then close it and recheck that the static outlet pressure is acceptable. Inspect for leaks again after connecting.
Stop and investigate if the needle remains unexpectedly high, the control has no effect even when used according to the product instructions, a gauge leaks, or water appears inside the RV. Disconnect city water and seek qualified RV plumbing help for a persistent fault. An adjustable valve is not a substitute for repairing damaged lines, seals or a leaking city-water inlet.
Check these details before clicking buy
Match the ends, not just the ‘universal RV’ label
These three models are sold for conventional US 3/4-inch garden-hose threaded hookups. Inspect your actual spigot, freshwater hose and any quick-connect hardware before ordering. A nominal 3/4-inch garden hose thread is not the same connection as every 3/4-inch pipe fitting. An added adapter introduces another seal and another possible leak point.
Treat drinking-water claims precisely
Lead-free brass and potable-water suitability matter for a freshwater connection. The makers identify lead-free materials on these models, but a seller’s description of compliance is not interchangeable with a third-party certification certificate. If a specific certification is required for your application, verify the exact variant and documentation rather than inferring one from a marketplace bullet.
Plan for debris, frost and a fragile dial
A screened inlet can catch particles at the regulator but can also clog and restrict water delivery. Inspect and clean it as directed by the manufacturer. Persistent fluid loss, inaccurate readings or damage to a liquid-filled gauge deserve closer attention. Disconnect and drain the regulator before freezing storage, and protect the dial from impacts during travel.
Don’t confuse an adjustable valve with a booster pump
A pressure reducer can lower excessive supply pressure. It cannot manufacture pressure that the campground does not provide. If low flow continues with an acceptable static setting, look for a restricted screened washer, clogged inline filter, kinked drinking-water hose, a partially closed valve or an RV-side fault. Diagnose those restrictions before raising the regulator setting beyond a safe limit.
What to choose
Choose the RVGUARD adjustable-knob model if you change hookups often and want tool-free control. Choose the Renator M11-0660R if you prefer a familiar screw setting and clear maker instructions. Choose the Valterra A01-1117VP if documented replacement components matter to you. Choose none of them as a ‘pressure booster’: first confirm the campground supply and the RV’s own pressure limit.
Whichever version you choose, the most useful result is a stable, appropriate downstream reading with no leaks and adequate flow for your normal fixtures, not the highest PSI printed on the dial. Product-page details and availability can change; check the exact model when you follow an Amazon link.
Frequently Asked Questions
Why does my adjustable regulator’s needle stay high after I turn the screw down?
Pressure may remain trapped in the hose and RV plumbing. Follow your regulator’s instructions for safely relieving downstream pressure, then close the fixtures and recheck the static outlet reading. If the adjustment still has no effect, stop using the regulator until the gauge and valve are checked.
Can I install an RV water pressure regulator directly at the trailer inlet instead of the spigot?
Some setups allow different placements, but mounting at the campsite spigot protects the downstream drinking-water hose as well as the RV. Follow the regulator’s specific installation instructions and make sure any exposed section upstream is rated for the actual supply pressure.
Does a bubble in a liquid-filled regulator gauge mean it is defective?
Not necessarily. Renator explains that an air space can be normal in its liquid-filled gauges. That is different from a gauge that leaks continuously, reads pressure when disconnected, has broken glass or disagrees with a known reference; investigate those symptoms before relying on it.