
GearAndRig is reader-supported. As an Amazon Associate I earn from qualifying purchases. When you buy through links on our site, we may earn an affiliate commission, at no extra cost to you. Learn more.
For most RVs, the best sewer hose storage is a dedicated exterior carrier if the hose and fittings fit inside and the vehicle has an approved mounting location. A hollow rear bumper can work for a smaller hose, while a labeled, lidded sanitation tote is often the better answer for oversized elbows or rigs without a safe mounting spot. Measure the entire stored assembly before buying anything.
Which RV sewer hose storage setup makes sense?
The first decision is not tube versus bag. It is whether your hose can be stored straight, whether its widest fitting clears the opening, and where the dirty equipment can travel without sharing space with drinking-water gear.
| Storage method | Choose it when | Watch out for |
|---|---|---|
| Existing hollow bumper | Your RV manufacturer permits hose storage there and the collapsed hose slips in freely | Rust, sharp edges, narrow openings, missing caps, and bulky fittings |
| Adjustable exterior carrier | You have a suitable approved mounting position and want the hose away from cargo | Ground clearance, bracket attachment, carrier length, and internal diameter |
| Dedicated exterior-bay tote | No safe tube mounting point exists, or elbows and accessories need extra room | Separate it from potable-water gear; manage rinse water and retained moisture |
| DIY post or pipe carrier | You need a custom cross-section and can confirm a structurally safe attachment | Unrated mounting hardware, insecure end caps, and trapped liquid |
Start with the storage problem you actually have. A 10-foot section that compresses into an existing bumper does not call for a new underbody tube. A motorhome with a low belly and no usable bumper may be better served by a sanitation-only container in an exterior compartment, even if a long carrier looks tidier in photos.
Measure the hose, fittings, and mounting space in this order
Two measurements that sound interchangeable are not: a carrier’s stated adjustable length and the usable space inside it. End closures and fittings can take up room. Do not use the hose’s advertised extended length as its stored length.
- Collapse the actual hose gently. Measure its stored length with the end pieces in the configuration you intend to carry. If an elbow is removable, measure both with and without it.
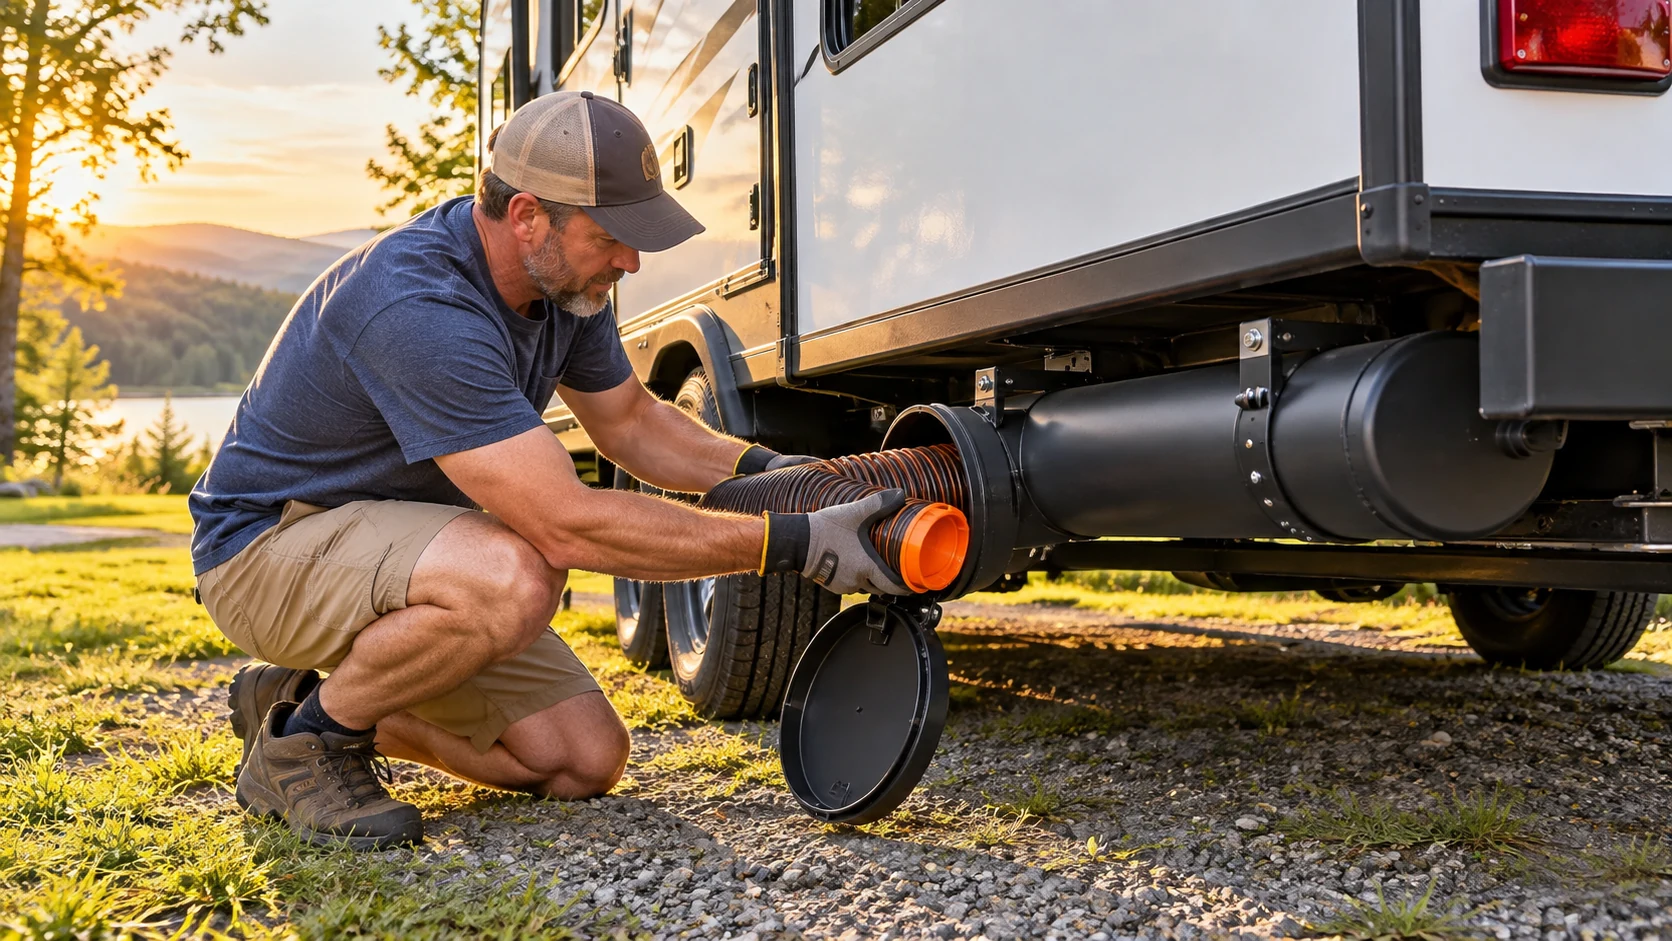
- Find the widest rigid piece. Check the bayonet lugs, couplings, and clear elbow against the carrier’s usable inside diameter and, more importantly, its end opening. A nominal 3-inch sewer hose can have fittings much wider than its hose body.
- Measure a realistic straight mounting span. Include room to open an end cap and withdraw the hose without hitting a spare tire, stabilizer, jack, bumper attachment, or other obstacle.
- Check the installed travel envelope. Verify ground clearance, suspension movement, departure angle, exhaust and heat exposure, and proximity to plumbing, propane lines, electrical systems, and moving parts. Mounting approval comes from your RV or chassis manufacturer.
- Test access before fastening anything. The hose needs to go in and come out without force. If it jams at the fitting, extra carrier length will not fix the diameter problem.
The mistake to avoid: a 50-to-94-inch tube is longer than a 34-to-60-inch tube, but both Valterra models below have a manufacturer-stated 4.5-inch inner diameter. Neither should be purchased on the assumption that it accepts a wider one-piece 90-degree fitting.
Two adjustable hose carriers worth comparing
Valterra publishes dimensions and closure details for both models, so the choice can be made on documented fit rather than vague claims about durability. These are storage carriers, not sewer hoses or hose supports. The best choice depends on the assembled hose you already own.
| Exact model | Adjustable length | Inside diameter | Most sensible fit |
|---|---|---|---|
| Valterra A04-3460BK | 34 to 60 inches | 4.5 inches | Shorter straight hose assemblies and compact approved mounting spans |
| Valterra A04-5094BK | 50 to 94 inches | 4.5 inches | Longer compressed assemblies or a mounting location spanning farther apart |
Valterra A04-3460BK Adjustable EZ Hose Carrier
Choose this if your measured assembly fits comfortably inside a carrier that adjusts from 34 to 60 inches.
Valterra specifies a vented twist-lock cap, a rubber retaining strap, brackets, and screws. The cap can accept a padlock. Those features address retention and access, but the hose still needs to be rinsed and drained, and the mounting method still needs vehicle approval.
Good fit if
- The assembled hose is shorter than the actual usable interior length.
- The widest attached fitting passes the opening without force.
- There is a supported, accessible mounting location for the shorter carrier.
Skip it if
- You need more length for a compressed 20-foot kit.
- Your fixed elbow cannot pass a 4.5-inch nominal interior.
- No approved mounting position preserves travel clearance.
Valterra A04-5094BK Adjustable EZ Hose Carrier
Choose this when the stored hose needs more straight-line length and the RV has an appropriate place for a longer tube.
That makes it useful for owners whose collapsed hose sections exceed what a short tube can hold. It does not provide a larger diameter: Valterra lists the same 4.5-inch inner opening for this model and the A04-3460BK. Check the available mounting structure and support arrangement, especially at longer extensions.
Good fit if
- Your hose assembly needs more length but fits the same 4.5-inch inner diameter.
- The RV provides a safe mounting span and clearance for the extended tube.
- You prefer to keep the hose outside other storage compartments.
Skip it if
- The fitting is too wide, regardless of how long the tube becomes.
- An underbody carrier would hang too low or obstruct service access.
- You would need unapproved drilling or improvised attachment to install it.
Our choice between the two: buy the A04-3460BK only if your full stored assembly and mounting span fit its shorter range. Move to the A04-5094BK for genuinely longer assemblies, not larger connectors. Choose neither if clearance or attachment is questionable. A dedicated tote is a valid answer, not a compromise you need to apologize for.
When an RV rear bumper works, and when it does not
Some travel trailers have a hollow square bumper intended to accept sewer hose sections. Others have an open, obstructed, crimped, or unsuitable bumper. Never assume a 4-inch outside bumper dimension provides a clear 4-inch inside opening, or that every RV bumper was designed to store a hose.
Before using one, look for internal screws, corrosion, sharp seams, and any narrowing around the caps. A rigid elbow may not fit even when the flexible body does. If the hose has to be dragged out with considerable force, change the storage approach rather than damaging the coupler or abrasion-wearing the hose.
Also check the cap retention. Owner discussions include cases of loose end caps and hoses lost while driving. This is anecdotal evidence of a plausible failure mode, not a measured failure rate. Inspect the cap before departure and verify the storage use and any accessories against the RV manufacturer’s instructions.
No bumper or safe mounting point? Use a dedicated sanitation tote
A lidded container in an exterior storage bay is often the simplest setup for a motorhome or fifth wheel with bulky fittings. It can hold the elbow, gloves, sealing caps, and the hose in one clearly identified place. The container must actually accommodate the hose’s natural stored shape; forcing tight bends into a small bin can create wear.
Keep this container dedicated to waste-system equipment. Do not combine it with potable-water hoses, filters, food-contact items, or kitchen tools. Rinse the sewer hose at an approved dump facility, let it drain, secure the ends as directed by the hose maker, and clean the container when needed. A lid controls contact and clutter, but it does not make a wet hose magically dry or odor-free.
For a truck camper or van with little exterior storage, first evaluate whether a removable sanitation-only bin fits the existing bay. If that bay also houses drinking-water connections, organize the space so dirty items cannot contact clean equipment or drip onto controls. A sealed indoor living-space location is not a sensible substitute for an exterior sanitation compartment.
DIY sewer hose storage: useful, but not automatically safer
A square vinyl fence-post sleeve with a sliding gutter tray is popular because the tray can help retrieve a hose and the wider square opening may accommodate bulky fittings. PVC is another common approach, but nominal pipe sizes can be misleading. The actual interior bore, end cap opening, wall thickness, and fitting dimensions determine whether it will work.
Measure the entire hose before choosing materials. Design the closure to stay retained on the road and allow cleaning, drainage, and inspection without releasing wastewater where it does not belong. A homemade carrier should never be treated as a structural RV accessory merely because it looks strong on a workbench.
Mounting is the stop point. Do not drill an RV frame, bumper, tank support, or structural member based on a generic online diagram. Ask the RV or chassis manufacturer about permissible mounting locations and methods; use a qualified RV shop where approval or clearance is uncertain. Check the path of utilities and moving equipment before selecting any location. A carrier hanging below the vehicle’s established clearance is not worth installing.
How to stow a sewer hose without creating the next problem
- Rinse and drain at the appropriate dump point. Use a sanitation-dedicated rinse setup and follow campground rules. Keep rinse equipment separate from drinking-water equipment.
- Examine the hose and couplings. Look for leaks, splits, abraded folds, damaged gaskets, or loose fittings. Storage cannot restore a damaged hose.
- Collapse it without crushing fittings. Do not bend rigid elbows to make a tube close. Store removable bulky adapters in the sanitation tote if they do not fit the carrier.
- Secure the storage closure. Confirm it is fully latched and its retaining strap, latch, or cap is sound. Inspect again before traveling.
- Let the setup air out appropriately. Follow hose and carrier guidance. Vented carrier caps are not a substitute for rinsing and draining, and a sealed wet container needs periodic cleaning.
During regular RV inspections, take a look at the carrier’s attachment, cap, and available ground clearance. If a bracket has shifted or the stored hose shows rubbing marks, address the cause before the next drive.
Five questions to answer before you buy
- What is the collapsed length of my actual hose, including fittings? Do not estimate from the hose’s advertised extended length.
- Will the largest coupling clear the entrance? A 4.5-inch inside diameter is not a promise that every 3-inch hose kit’s elbow fits.
- Can I open the cap and remove the hose at the proposed location? Access matters as much as carrier length.
- Does my RV manufacturer allow this attachment point? Ground clearance and nearby utilities can rule out otherwise attractive underbody positions.
- Would a dedicated tote solve the problem with fewer compromises? For an awkward hose shape or a low motorhome, often yes.
Once the fit measurements are settled, compare the shorter Valterra carrier on Amazon with the longer Valterra carrier on Amazon. Check the exact model code in the listing before ordering, since color and length variants can appear together.
How this guide was researched
Model dimensions and features were checked against Valterra’s published product specifications. Storage trade-offs were cross-checked against RV editorial guides and owner discussions about missing bumpers, fittings that will not pass through a storage tube, and exterior-bay containers. Owner reports informed the questions, not claims of measured reliability. We did not conduct hands-on fit or road testing; use your exact hose measurements and RV manufacturer’s guidance for the final decision.
Frequently Asked Questions
What size PVC pipe is suitable for RV sewer hose storage?
There is no universal pipe size. Measure the largest rigid connector and the opening of the finished pipe assembly, not just the flexible hose diameter or the pipe’s nominal size. Some fittings need considerably more clearance than the hose body. Choose the mounting method only after the RV manufacturer confirms an approved location.
Can I leave the elbow attached inside an RV sewer hose storage tube?
Only if the assembled elbow passes through the carrier opening easily, the hose fits without compression against the closure, and the cap latches fully. One-piece 90-degree fittings can be too wide for the adjustable Valterra carriers discussed here. Store an oversized elbow separately in a dedicated sanitation container rather than forcing it in.
Can a sewer hose go in an exterior RV storage compartment?
Yes, when it is rinsed, drained, contained in a dedicated sanitation-only bin, and physically separated from potable-water and food-related equipment. A lidded tote is particularly practical on rigs without a usable bumper or underbody mounting spot. Check the bay for leaks or retained moisture and clean the bin as needed.
Why does my sewer hose fit inside a bumper but get stuck at the end?
The hose’s flexible body may be narrower than its bayonet lugs or elbow, while the bumper opening may be smaller than its nominal outside dimension. Check for inward seams, screws, deformation, and sharp metal. Do not pull hard enough to tear the hose or damage its fittings; move the bulky part to separate storage if necessary.